
To install the OctaneRender® plugin, download the software from Downloads section of the OTOY® website and run the plugin installer. You must be logged in as admin to do this. While you are installing the program, you will be prompted to choose from a list of components. Install the components you need (figure 1).
Figure 1: Choosing the installed versions of 3ds Max®
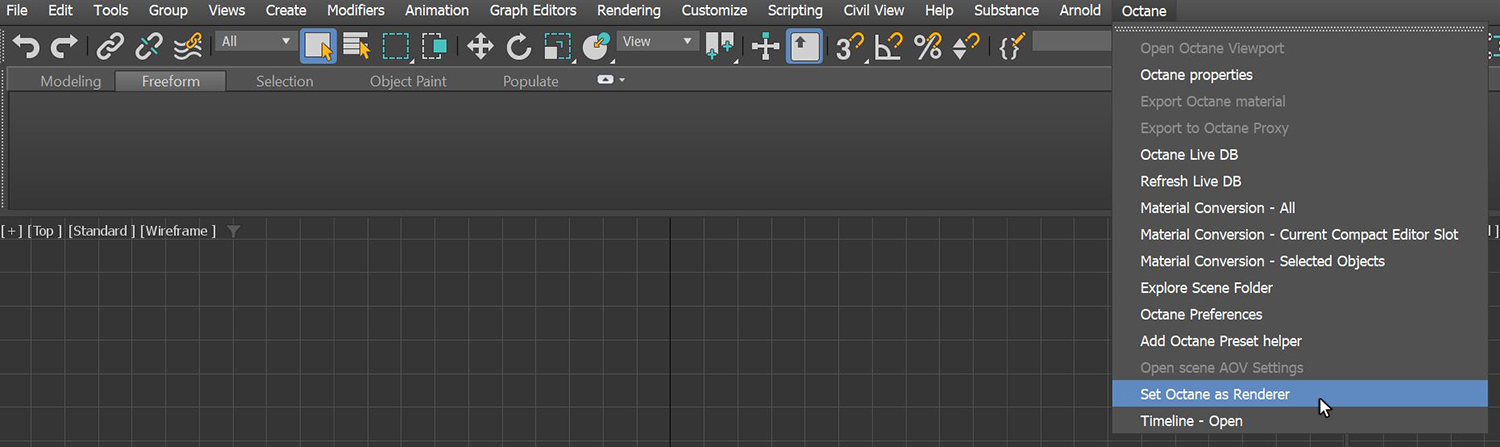
Open 3ds Max and click on the Octane menu item then choose Set Octane as Renderder from the drop down menu (figure 2).
OctaneRender is a GPUThe GPU is responsible for displaying graphical elements on a computer display. The GPU plays a key role in the Octane rendering process as the CUDA cores are utilized during the rendering process.-based render engine. It is important to manage the GPUs in the systems that are used for rendering. This is done from the Devices tab under Render Settings. Under this tab, the checkboxes for unsupported GPUs are not shown, and you can enable just the GPUs with a supported compute model (figure 3).
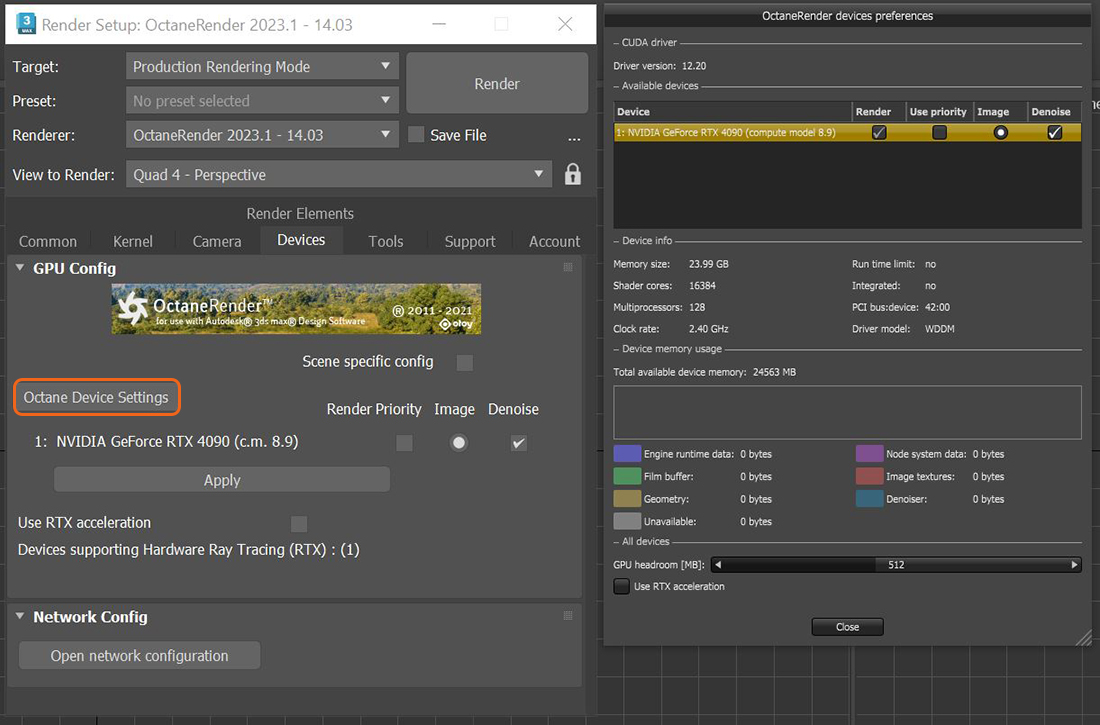
Figure 3: The Devices tab
Use Priority enables the Priority option, which sets the render priority for the active GPUs. The render priority is necessary when a GPU is not dedicated to rendering, but is also shared among different processes in one machine. For example, a machine with one GPU shares the GPU for processes across the whole system, including the operating system. You usually set the desktop GPU as Priority to avoid desktop hiccups and slowdown. From here, you can also specify what GPUs are used for denoising and which ones are used for tonemapping.